Introduction
Halloween is the perfect time to unleash your creativity in the kitchen, and what better way to do so than by baking a batch of festive and spooky Halloween cupcakes? These delightful treats are not only fun to make but also a hit at any Halloween party. In this comprehensive guide, we’ll walk you through the steps to making Halloween Cupcakes that are not only devilishly delicious but also scream “spooky” with every bite. So, put on your apron, gather your ingredients, and let’s get started on this culinary adventure!
Chapter 1: Gathering Your Ingredients and Tools
Before you dive into baking, it’s essential to have all your ingredients and tools at the ready. Here’s what you’ll need:
Ingredients:
– 1.5 cups all-purpose flour
– 1.5 teaspoons baking powder
– 1/4 teaspoon salt
– 1/2 cup unsalted butter, at room temperature
– 1 cup granulated sugar
– 2 large eggs
– 1 teaspoon pure vanilla extract
– 1/2 cup whole milk
– Food coloring (orange, black, and any other Halloween colors you like)
– Your favorite cupcake toppings (e.g., frosting, sprinkles, edible glitter, candy eyeballs, gummy worms, etc.)
Tools:
– Mixing bowls
– Hand mixer or stand mixer
– Cupcake liners
– Cupcake pan
– Cooling rack
– Piping bag and decorating tips (optional)
– Halloween-themed cupcake toppers (optional)
Chapter 2: Preparing the Cupcake Batter

Step 1: Preheat your oven to 350°F (175°C) and line your cupcake pan with cupcake liners.
Step 2: In a mixing bowl, combine the all-purpose flour, baking powder, and salt. Mix well and set it aside.
Step 3: In another mixing bowl, using a hand mixer or a stand mixer, cream the softened butter and granulated sugar until the mixture is light and fluffy. This should take about 2-3 minutes.
Step 4: Add the eggs one at a time, ensuring each is fully incorporated before adding the next.
Step 5: Stir in the vanilla extract.
Step 6: Gradually add the dry ingredients to the wet ingredients, alternating with the milk. Begin and end with the dry ingredients, mixing until just combined. Be careful not to overmix, as it can make the cupcakes dense.
Chapter 3: Adding Halloween Colors
To give your cupcakes that Halloween twist, it’s time to add some spooky colors. Here’s how to do it:
Step 1: Divide the cupcake batter into separate bowls, depending on how many colors you want to use. For classic Halloween colors, go for orange and black. You can also use other fun colors like green, purple, or red.
Step 2: Add a few drops of food coloring to each bowl and mix until you achieve the desired color. Remember, a little goes a long way, so start with a small amount and gradually add more if needed.
Step 3: Get creative! You can create marble effects by adding spoonfuls of different colored batters to each cupcake liner or layer the colors for a vibrant look.
Chapter 4: Filling the Cupcake Liners

Now that your cupcake batter is Halloween-ready, it’s time to fill those cupcake liners:
Step 1: Use a spoon or an ice cream scoop to fill each cupcake liner with your colorful batter. Fill each liner about two-thirds full, leaving room for the cupcakes to rise.
Chapter 5: Baking and Cooling
Step 1: Place the cupcake pan in the preheated oven and bake for about 18-20 minutes, or until a toothpick or cake tester comes out clean when inserted into the center of a cupcake.
Step 2: Remove the cupcakes from the oven and let them cool in the pan for a few minutes.
Step 3: Transfer the cupcakes to a cooling rack to cool completely. This is a great time to prepare your frosting and any other toppings you plan to use.
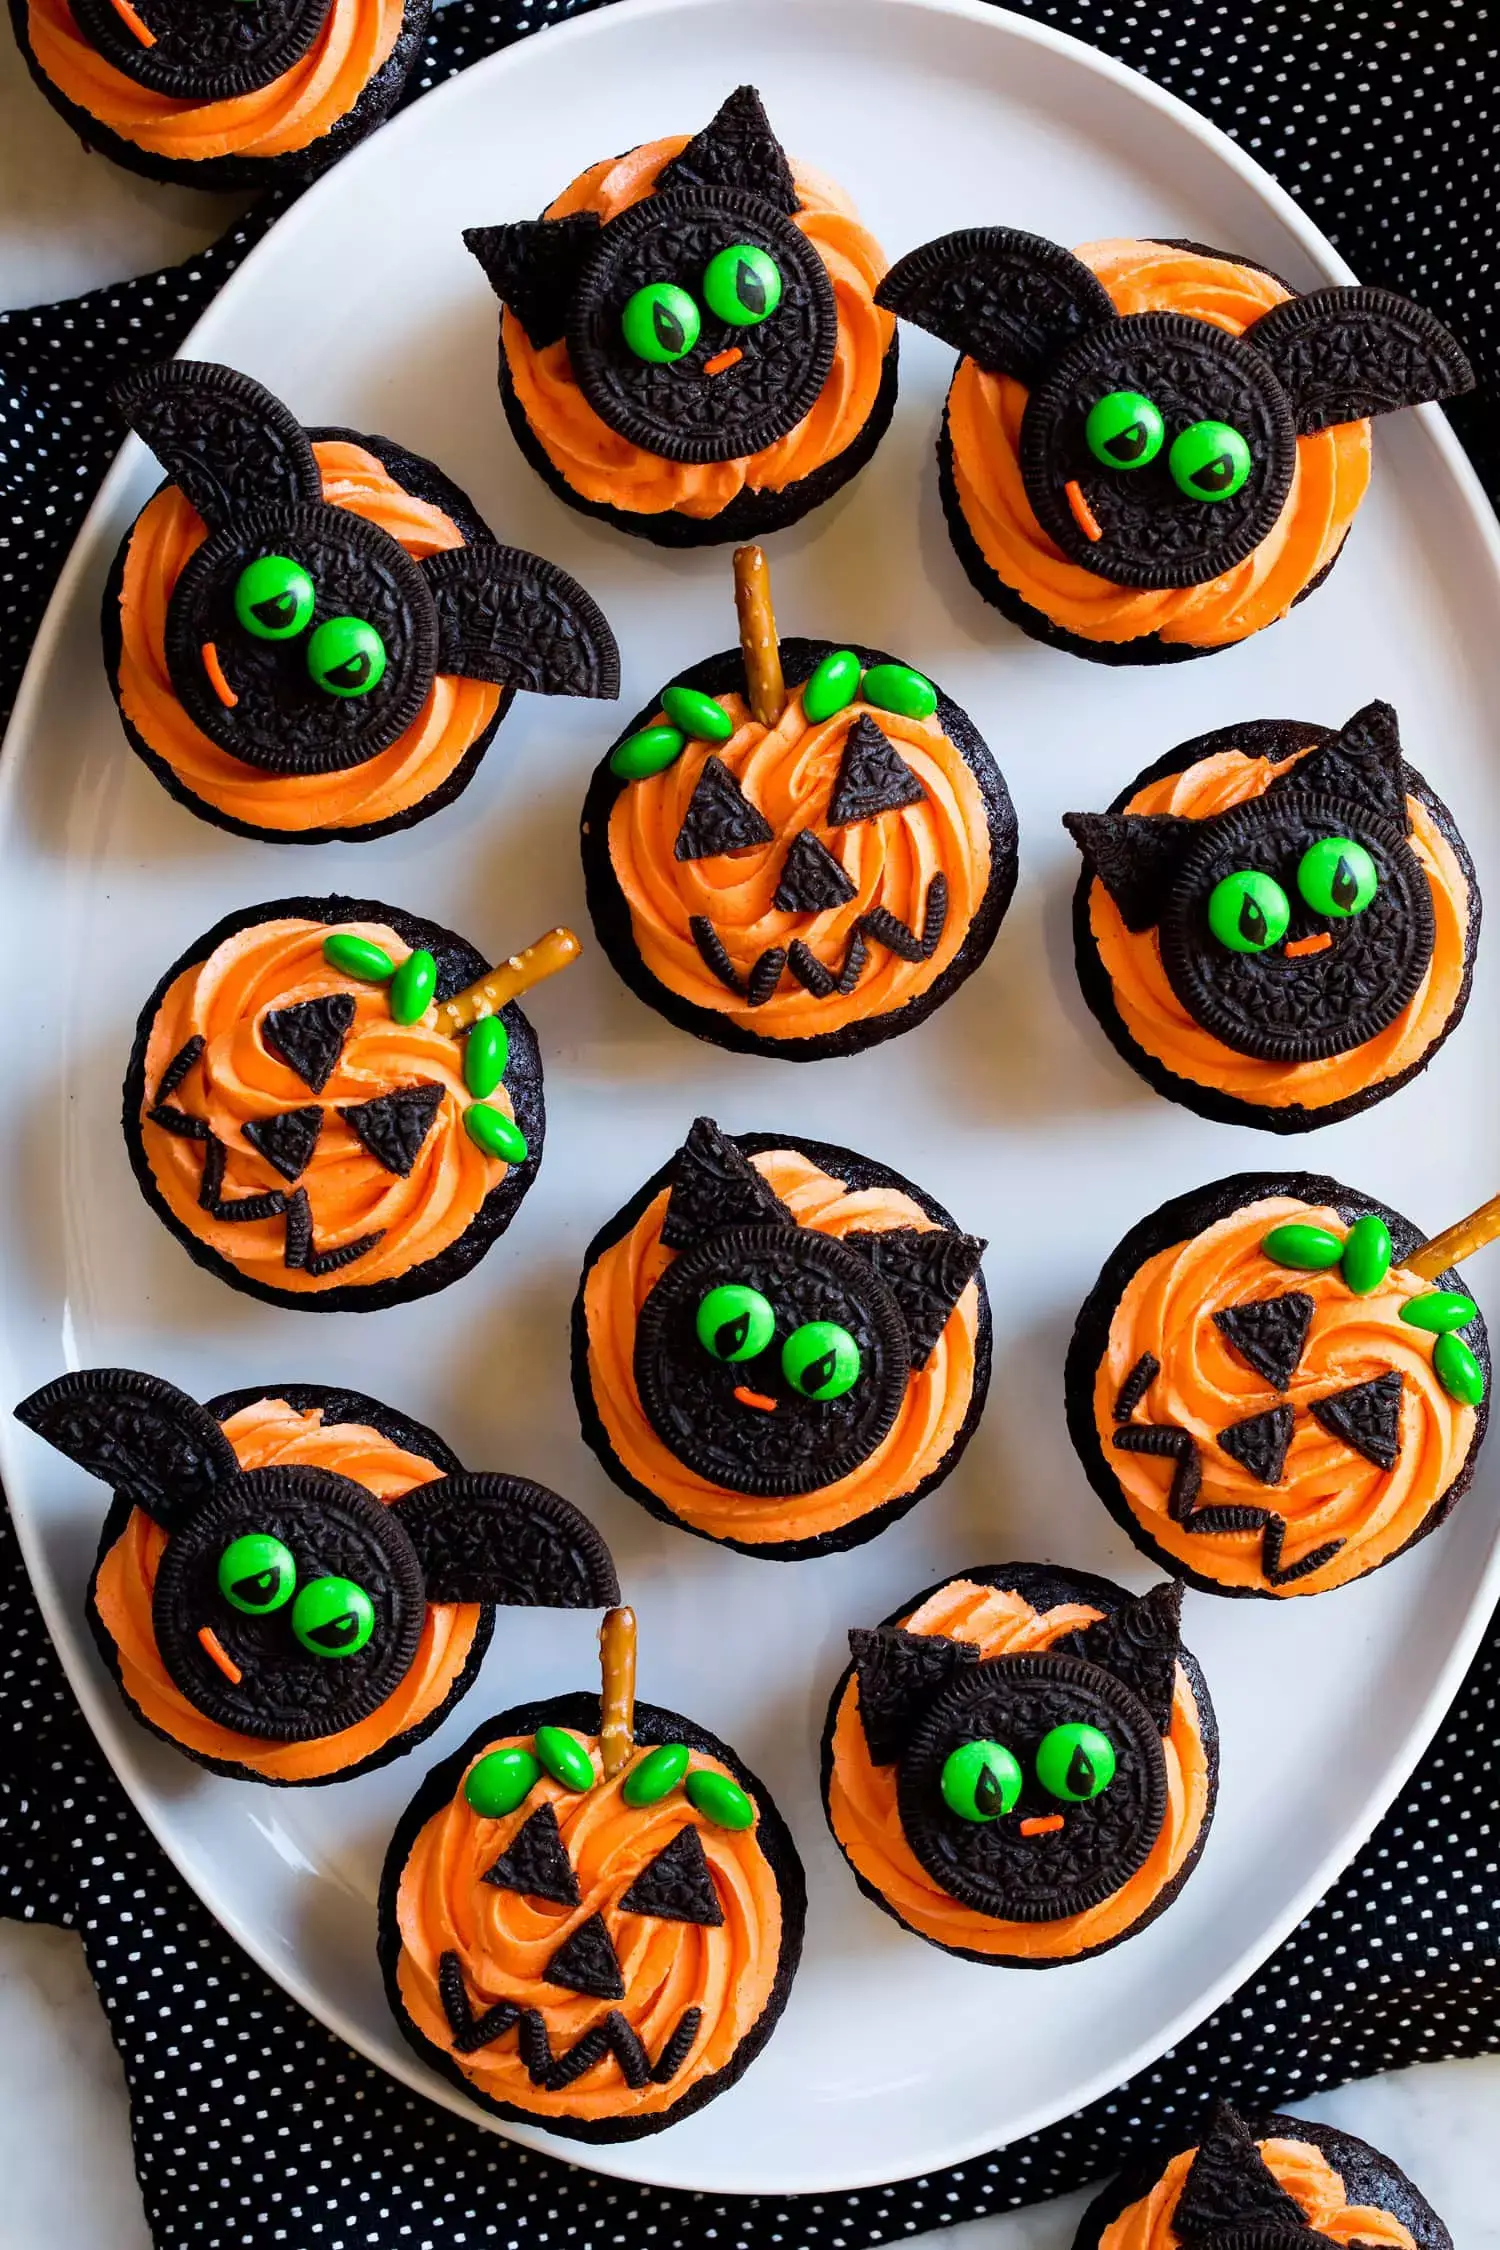
Chapter 6: Decorating Your Halloween Cupcakes

The fun part begins now – decorating your Halloween cupcakes!
Step 1: Once the cupcakes are completely cooled, you can start frosting. You can use a classic buttercream, cream cheese frosting, or any other favorite frosting recipe.
Step 2: Get creative with your frosting. You can use a piping bag and different decorating tips to create swirls, rosettes, or other designs. Or simply spread the frosting with a spatula for a more rustic look.
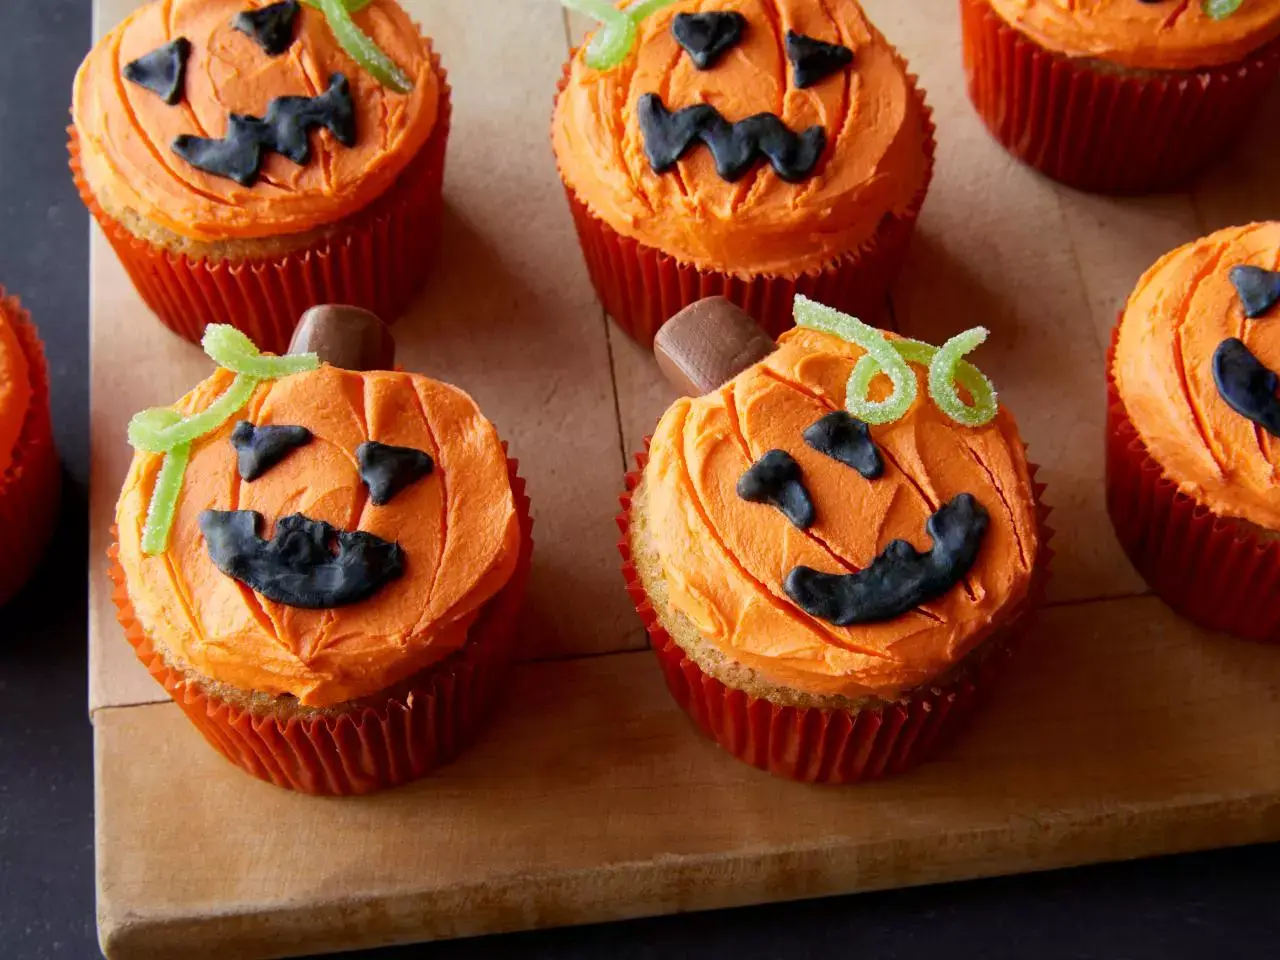
Step 3: Top your cupcakes with Halloween-themed decorations. Consider edible glitter, colorful sprinkles, candy eyeballs, gummy worms, or any other spooky embellishments you like.
Step 4: To make your cupcakes even more festive, you can add Halloween-themed cupcake toppers or edible images. These can include witches, pumpkins, bats, or any other spooky figures.
Chapter 7: Presentation and Serving
Step 1: Arrange your decorated cupcakes on a Halloween-themed platter or cupcake stand to create an eye-catching display.
Step 2: If you’re hosting a Halloween party, you can place your cupcakes next to other Halloween treats and decorations for an impressive dessert spread.
Step 3: Don’t forget to take pictures of your beautifully decorated Halloween cupcakes before your guests dig in.
Chapter 8: Enjoying Your Spooky Creations
Now that your Halloween cupcakes are prepared and beautifully decorated, it’s time to enjoy the delicious fruits of your labor. These sweet and spooky treats are sure to be a hit at your Halloween celebration.
Conclusion
Making Halloween Cupcakes is a delightful way to celebrate the spooky season and showcase your culinary skills. With a little creativity and some colorful food coloring, you can transform simple cupcakes into festive and eye-catching treats that will be the highlight of any Halloween party. So, get into the Halloween spirit, gather your ingredients and tools, and enjoy the process of creating these devilishly delicious and spook-tacular cupcakes!